Wednesday 8 June 2011

advanced normal map tech


I wanted to run through this technique that i used to add 2 layers of normal maps on an object, So that when your closer to the mesh it seems more detailed than it actualy is.
So as you can see in the image its got its main Normal map attached to an Add - This one will handle the large shadows which you see from a distance (Check the image out below to see that). Next to add another normal map i've put a texture sample which links an outside normal in - and tile it by adding a texcoord to it. Here there are 20by 20 normals on the uv space. This normal is added to a multiply before the add with an RBG channel which will control how strong the normal is on the mesh. The more number to add to the red and yellow channel the stronger the normal becomes.


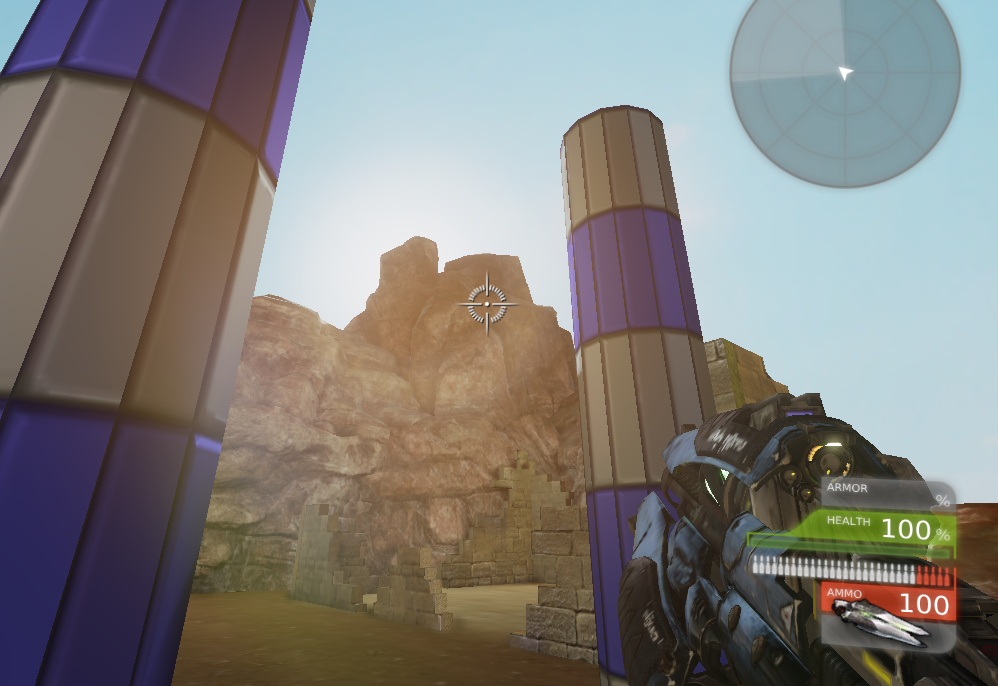
normal map from distance.


Smaller normals from up close

Monday 6 June 2011

Presentation

Been alittle while since i've posted here, Will be adding some screenshots of progress soon. have been thinking about how to present the work at the show and for marking. I'm going to make a Developers Commentary booklet which will include my evaluation, goals, What my project is all about and talk through how i did certain things (Hopefully in a way which most people will beable to understand if they decide to try to read it at the show). Aswell as the commentary i'll have this Development Blog and the final Scene as an installable .EXE

Monday 30 May 2011

Noise

I felt that the ruins were bare inside so i decided i need to add some visual noise to them, Make them fit in more naturally. Modeled 3 differnt sizes of bricks from the same reference as the ruin walls, Going to absolutly litter the scene with them like seen below. I think this ruin is almost done but i think i need some outside imput from people to see if it needs more.


Also been building the temple on the top area. Reusing alot of assets here and it seems to be paying off. A long way to go somethings that i intend for this is hanging ivy from the collomns. AND MORE BRICKS! :P

Sunday 29 May 2011

aquaduct

Been tweeking the post processing as i felt it was alittle on the overpowering. Feeling better about how it looks now, Things will stay in focus for about 15-20 feet then fade out into a light blur effect. Something that i've also done is desaturate the scene by about 10% and also darkened the colour channels by around 10% aswell.

I wanted to build an aquaduct in the background for awhile now and since the blur works well now i relised that it wouldn't need to be very detailed since most of it would fuzz. This model Literally took 5 minutes to make and as you can see the textures dont even line up and there is no real detail.

Once its build inplace and viewed from player's perspectives on the other hand it looks great. the textures arnt particually visable at the distance but they do enough to hint about its detail. lots of time saved with post proccessing :)

Friday 27 May 2011

Who ever said one problem led to another?

Been messing around with post processing effects, Specificly boom and depth of field.
It gives things far away a blured effect which really works well with the large rocks outside the map. Gives a nice sence of perspective - i've been learning some of these techniques from the video tutition series on eat3d.com.


I had some crazy shader problem with adding a 3rd terrain material layer. I pulled my hair out most of yesterday until i decided to try the latest udk build (may version). This worked a treat and you can see all 3 blending nicely together below. the grass definatly makes the whole level feel more natural


Also i've removed the default HUD completely using the scripting tools in udk, Its really simple becuase the scripting tools in udk are build visually so that the artists have an easier job scripting things into levels, you don't need any scripting nolage. Basicly what i've done is stated that when the players spawn, Toggle the HUD to hide for a target of all players. removed the default weapon in the world properties at the top of the screen.


Here are the latest additions to the plant life

Tuesday 24 May 2011

Flower power

I spent along period of time today with artist block, I wasn't sure what more foliage to build next, If i needed anymore and even if everything i had done up till now was good enough. Eventually i began working on some flower meshes which ended up really bringing the foliage to life with colour. This kind of mesh is great becuase all you need to do to make another one is replace the texture.. A bit cheeky but with the ammount of foliage theres liable to be who would actually notice? Why waste hours modeling loads of variations? I will however model 1-2 more types of mesh with some nice red/blue flowers.

Monday 23 May 2011

Rocksaa!

So i decided that i would return to my attempts at modeling rocks. Something that i had spent quite alot of time (hitting a brickwall) earler in this project and for my animation project. I could never get the shapes that i wanted but since i really want to have this project be 100% custom artwork i need to model some rocks. The process to get here was quite simple, First i sculpt a rock inside mudbox from a box shape, Once thats done i import a semi low poly version of that rock back into 3ds max. in max i make sure the mesh is ok and then i UVW Unwrap it. I unwrapped the rock with a pelt map so i avoid a lot of the seems that you'd get if you did it anyother way. After thats all done i take the unwrapped rock back into mudbox and begin to paint the rock texture onto the mesh, Then i export the paint layer and run it through crazyBump.
There is one problem i've found with my rocks which you can see below in this image. They look nice from a distance but when you get close the texture becomes almost pixelated. this is becuase of the texture size i would guess - The offical rock asset thats in udk has 3 levels of detail so that while your not close to it it saves on memory, But when your close it swaps to the high detailed. What i might try next is having 4096x4096 appose to 2046x2046. that or learn how the level of detail works ;D

Sunday 22 May 2011

Plants!

I had been unhappy with my origonal Fern mesh, It was basicly just a plane that was blend and rotated around. really made quickly so that i could test out the texturing method. So what i've done is gone back and remodeled the mesh. I've created more curves along the width of the leafs, brought them all close together and added another layer of leafs to make it more believeable, Below you can see the origonal to the right and my new mesh to the left.


Feeling i need more foliage i modeled one of these, I say these becuase i have no idea what it is.. I knew what leaf i was looking for but i don't or couldn't find out what it was called! But in any case i'm quite happy with how it came out. Its production took very little time compared to prevois foliage which i put down to experiance i guess.


Here's a demanstration of some of the foliege i've made put together so i can visualise what i've been imagining and ofcourse post that here.

Friday 20 May 2011

Fixed foliage texture problem

instead of the materials set up on the foliage as transparent with an opasity mask i swaped it to a masked with the mask. This got rid of the weird effect that i was getting where parts of the textures would become seethrough.. A dumb mistake but we live and learn :)

Built this 'grass' with the intention of making it grass but they turned out too thick for grass so i'll have to make smaller versions for grass but i will still use these since they can definatly pass as some type of ground plant or weed

Thursday 19 May 2011

new direction

Been working on more scene objects, i need to focus adding more foliage now to make the scene feel more natural and less open spaced.


The origonal backend to the scene was a 'floating garden' like design from an aztec ruin reference i had. Since the scene has turned more and more into a roman/ greek ancient ruin i decided to change it into large open stair area with a ruined temple on the top

Wednesday 18 May 2011

Custom sky

I thought it was about time i create a sky which would fit my scene better, So i collected one which is clear blue sky and incresed its brightness so it looks like a hot mediterrainein sky.

There are afew different skybox meshes already in udk which each take different types of textures. One of them takes textures like mine above, how i made my sky like this is using a filter inside photoshop called polar cords which wraps the top on the canvas to the middle. Once i imported the texture into udk i had a 'blond' moment as i forgot to make it a material! and after that i worked out how you can make a texture self illuminate which the skybox needs.


Here you can see the sky ingame, it really changes how the scene feels. it feels much hotter than it did before, it almost feels alive or fresh with colour.


Whilst i was doing the skybox i also thought i would add the sun so i would not forget. Its important to match the sun up to the skybox or else the skybox's lighting wouldn't look right at all.

Tuesday 17 May 2011

How to add assets

Since i have been adding alot of my own content into udk i thought i'd take time to explain how i do this.

First of all you need to have saved your model as an .FBX and made sure that all your textures comform to the sizes udk comforms to. 512x512 1024x1024 2048x2048 ... and so on, You can mix them together so for example if i had a narrow texture i could do a 512x1024.


Once you have them in udk you need to right click in the content broser and "add new material", the textures you've imported need to be made into a material which can be added to a model. Double clicking on the newly created material opens it material editor. Once your inside this you need to drag all your textures in and link them up to there apporpriate sections, IE the normal map is linked to Normal. Once you've done you need to click the green tick in the top left which compiles the material.


Next you need to double click on your .FBX model and once inside the mesh editor you expand the LODinfo until your down to the material slot. Then while selecting the materail in the content broser you click the magifing glass in the mesh editor. here you can see the before and after of the material appliance.

Thursday 5 May 2011

UDK speedtree test


Managed to get a test of the tree inside UDK, Had a few problems with the textures inside udk so i ended up reading up on UDK.com, did a simple test with some of the foliage thats already in udk so that i could see if it fits in ok (Not started on my own foliage just yet). The colours don't really go together at this point. The grass is way to bright and the tree is too strong. Need to aim for the udk's foliage as its much more natural. More tests to come!

Sunday 1 May 2011

Trees!

Been experimenting with speedtree for awhile now but i've only just started to work with it for this project. Had some problems with alpha maps on the leaves but i've worked that out now all i need to do is save them out as png's. Speedtree is great becuase it allows people to make random natural looking foliage for video games, Modeling 10 different variations of a tree would take days if not weeks done by hand but this tool speedtree (which has a free licenced version with udk) makes this possible in moments. I'm not quite happy with my textures yet i think there colours are off - but perhaps thats just becuase of the lighting in speedtree.. Will have to experiment after i compile some of these and actually put them in udk.

Wednesday 27 April 2011

Ready for battle


Some lovely swords to scatter around :) nice and low poly aswell. Modeled it in 3ds max from reference, Unwrapped it then ported it over to mudbox to texture it using its own refernce image. Touched it up again in photoshop. Happy with the result although if it was going to be actually useable weapon i'd of spent alot more time on it and it would of been higher poly limit. I'm considering modeling a Roman eagle battlestandard but im not sure whether i'd be able to make one i'm happy with that quickly and i wouldn't want to waste alot of time doing it. I'll have to think about it alittle. Spears soon !

EDIT: Forgot to upload the swords reference image

Friday 22 April 2011

Been awhile since last update


Made another 2 ruin models, Reused the models by flipping them around, They look better then i imagined they would. Some problems which you can see in the image below is that the ends don't match up to the other side when you join 2 walls together. This isn't desirable but i can cover this up with another prop, helps keep the model reuseable if i can swap them around like that. Had some clipping issues with 2 out of the 3 models, I think this is down to some bad cutting when i was in 3ds max before i took them over to mudbox to texture. The first one i did was fine so i think i might of rushed alittle. But again i'll just have to put some foliage over it to cover it up.

Made this Roman sheild to place randomly around the ruins. Turned out really nice and its only about 490 polys :) Gonna make myself some roman swords / spheres to scatter around too

Thursday 14 April 2011

Wall and ground


Top left shows one of the new walls i've build in max - UVW unwrapped this wall actually has less polys than one of the bricks on its own from the previous post. Looks nice with its normal maps, Might be alittle sharp on the edges if you get close but that seems to be industry standard. Top right shows the first implementation of terrain textures on the map, Mud and Floor textures modifed to be seemless - The normal maps really show off the detail in the texture with the sun lighting i've got on :)

Monday 11 April 2011


Heres a test i did for a wall. Wanted to try do one that wasn't just a simple block - each brick here is about 400 polys which is way too much. Doing some simple math if i build a building with 500 bricks times 400 polys = 200 000 poly on a building alone. Combine this with everything else in the scene this would make the level run badly on most machines.

Tuesday 5 April 2011


Just thought i would upload an image of the custom assets i've finished so far. Been working on some rocks and walls but i've not got anything i'm happy with yet but will upload some experiments soon

Saturday 2 April 2011


in the right you can see the progress on the focal point, added a custom cloth object which can be shot to peices if shot. On the right is an experiment i did with ground hase, Falling leafs, and re using the same rock resized/ rotated to create a rockface. Also an attempt at a daylight :)

Saturday 26 March 2011

Detailing focal point


Spent time working on the structure of the focal point, In the right image you can see 2 custom meshes which i made in 3ds max. The Arches and the colloums.

Wednesday 23 March 2011

Layout inside UDK


spent some time mapping out the basic layout in UDK, wasn't happy with the stairwell's line of sight with the focal point so i ended up making them go up rather then down. this way you can see the focal point whereever you are.


The assets that are in the level at the moment arn't mine i just put them there to get a feel for the space

Monday 21 March 2011

The Initial concepts

Here are some early concepts for the focal point in my map.


After i'd done some basic top down drawing concepts i immediately began to concept straight into 3ds max, Since its quick this gives me an idea of field of view and object proportions

Friday 18 March 2011

References and Influances

Direct link to photocollection: http://img585.imageshack.us/g/11romanbaths2bath39.jpg/